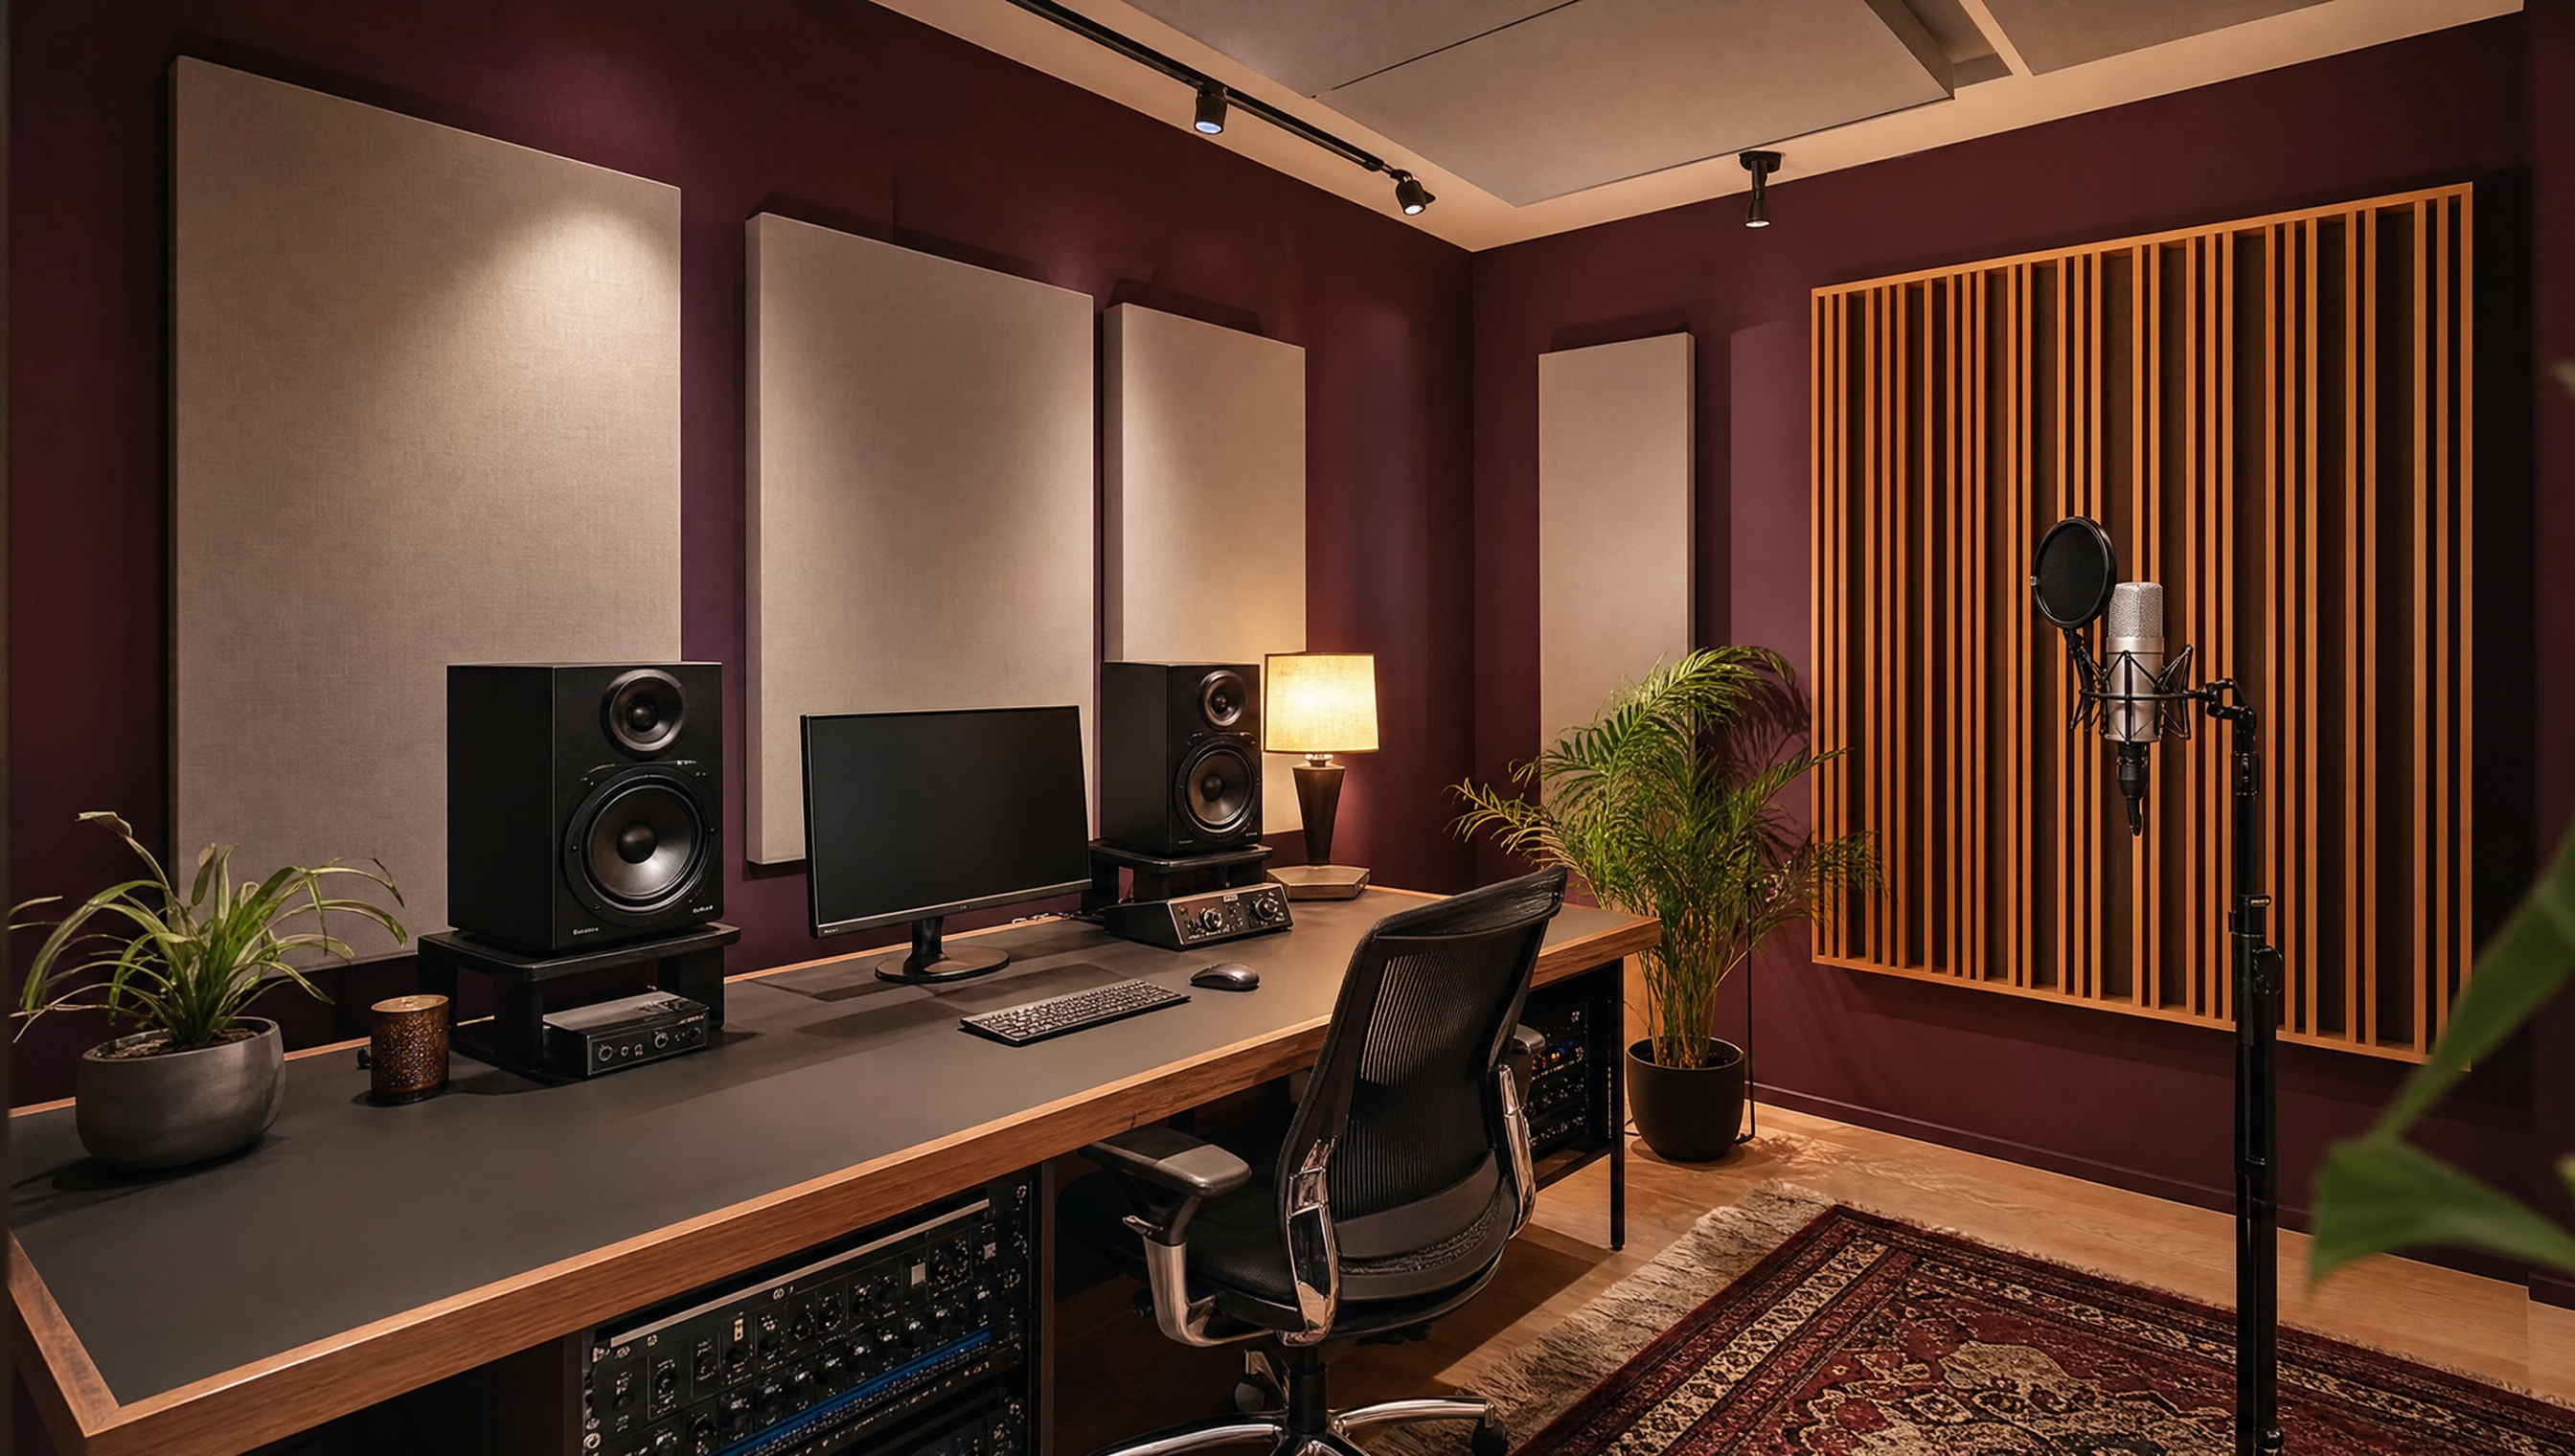
The home studio revolution has democratized music production. A setup that costs less than a single day in a professional studio can produce recordings that rival commercial releases. But the barrier to entry is not just financial. The difference between a bedroom setup that produces great results and one that produces mediocre results is not the price of the gear. It is the understanding of how to use it.
The Signal Chain
Every recording passes through the same basic chain: sound source, microphone, preamplifier, interface, and computer. Each link in the chain matters, but not equally. A great microphone through a mediocre preamp will always sound better than a mediocre microphone through a great preamp. Invest in the microphone first.
For a first home studio, a single large-diaphragm condenser microphone is the most versatile choice. It handles vocals, acoustic instruments, and room recording. Look for a microphone with a cardioid pattern, which rejects sound from behind the microphone and reduces room coloration. The Audio-Technica AT2020, Rode NT1, and Aston Origin are all excellent entry-level condensers that cost under $300.
The Audio Interface
The audio interface converts analog signals from the microphone to digital signals the computer can process, and converts digital signals back to analog for monitoring. It also provides the microphone preamplifiers.
For a home studio, a two-input interface is sufficient. You only need two inputs if you plan to record in stereo or track two sources simultaneously. The preamp quality in modern interfaces at the $200 to $400 price point is genuinely good. The Focusrite Scarlett 2i2, Universal Audio Volt 2, and Audient iD4 are all solid choices.
One specification that matters more than most people realize is the headphone amplifier output. Many budget interfaces have weak headphone outputs that cannot drive high-impedance headphones adequately. If you plan to mix on headphones, check that the interface can deliver enough power.
Monitor Placement
Monitor placement is the single most important factor in the accuracy of your mixing environment, and it is the one most people get wrong. You can spend thousands on monitors and still get poor results if they are positioned incorrectly.
The basic setup is an equilateral triangle: the two monitors and the listening position form a triangle with equal sides. The monitors should be at ear height, angled toward the listening position. The distance between the monitors should equal the distance from each monitor to your ears. Typically, this means the monitors are about 1.5 meters apart and 1.5 meters from the listening position.
Distance from Walls
Monitors should be at least 30 centimeters from the front wall and at least 60 centimeters from the side walls. Placing monitors too close to a wall boosts low frequencies and produces an inaccurate bass response. If you must place monitors near a wall, use monitors with rear ports and consider bass ports that can be plugged, or choose front-ported monitors.
Decoupling
Monitors transmit vibrations through their stands or desk into the structure of the room, which can cause bass buildup in other parts of the room. Decouple the monitors from their surface using isolation pads or monitor stands. This improves low-frequency accuracy and reduces structural vibration.
Acoustic Treatment: The Minimum Viable Setup
We cover acoustic treatment in detail in our dedicated article on the topic, but here is the minimum viable treatment plan for a home studio:
- Two bass traps in the front corners (behind the monitors), floor to ceiling if possible.
- Two broadband panels at the first reflection points on the side walls.
- One ceiling cloud above the listening position.
This five-panel setup addresses the most critical acoustic problems: bass modes and early reflections. It will not make your room sound like a professional studio, but it will make your mixes translate better to other systems. The total cost for DIY panels is $200 to $400.
Software: The DAW
The Digital Audio Workstation (DAW) is where you record, edit, and mix. The choice of DAW matters less than most people think. All modern DAWs can produce professional results. The best DAW is the one you know how to use.
That said, different DAWs have different strengths. Logic Pro (Mac only) includes an excellent convolution reverb (Space Designer) and a large library of plugins. Reaper is inexpensive, lightweight, and highly customizable. Ableton Live excels at electronic music production and performance. Pro Tools remains the standard in professional recording studios.
For someone starting out, we recommend trying the free trials of two or three DAWs and choosing the one whose workflow feels most natural. The time spent learning the DAW is more valuable than the specific DAW you choose.
Cabling and Signal Management
This is the unglamorous part of studio building that separates serious setups from toys. Good cables do not improve sound quality, but bad cables will degrade it and introduce noise. Use balanced cables (XLR for microphones, TRS for line-level signals) for all connections. Unbalanced cables (TS) are fine for short runs with instruments but should be avoided for anything over 3 meters.
Keep audio cables away from power cables. Running them parallel causes inductive coupling, which introduces hum. If audio and power cables must cross, cross them at 90 degrees to minimize coupling.
The best cable management is invisible. If you can see a tangle of cables, you have a problem. Label both ends of every cable.
What Not to Buy
As important as knowing what to buy is knowing what not to buy. Here are some common purchases that are unnecessary for a first home studio:
- Expensive cables. A $100 XLR cable does not sound better than a $15 one. The difference is durability, not audio quality.
- A mixing console. Unless you are tracking a full band simultaneously, a console is unnecessary. A DAW does everything a console does, with recallability.
- Multiple microphones. One good microphone is better than three mediocre ones. Learn to use one microphone well before buying more.
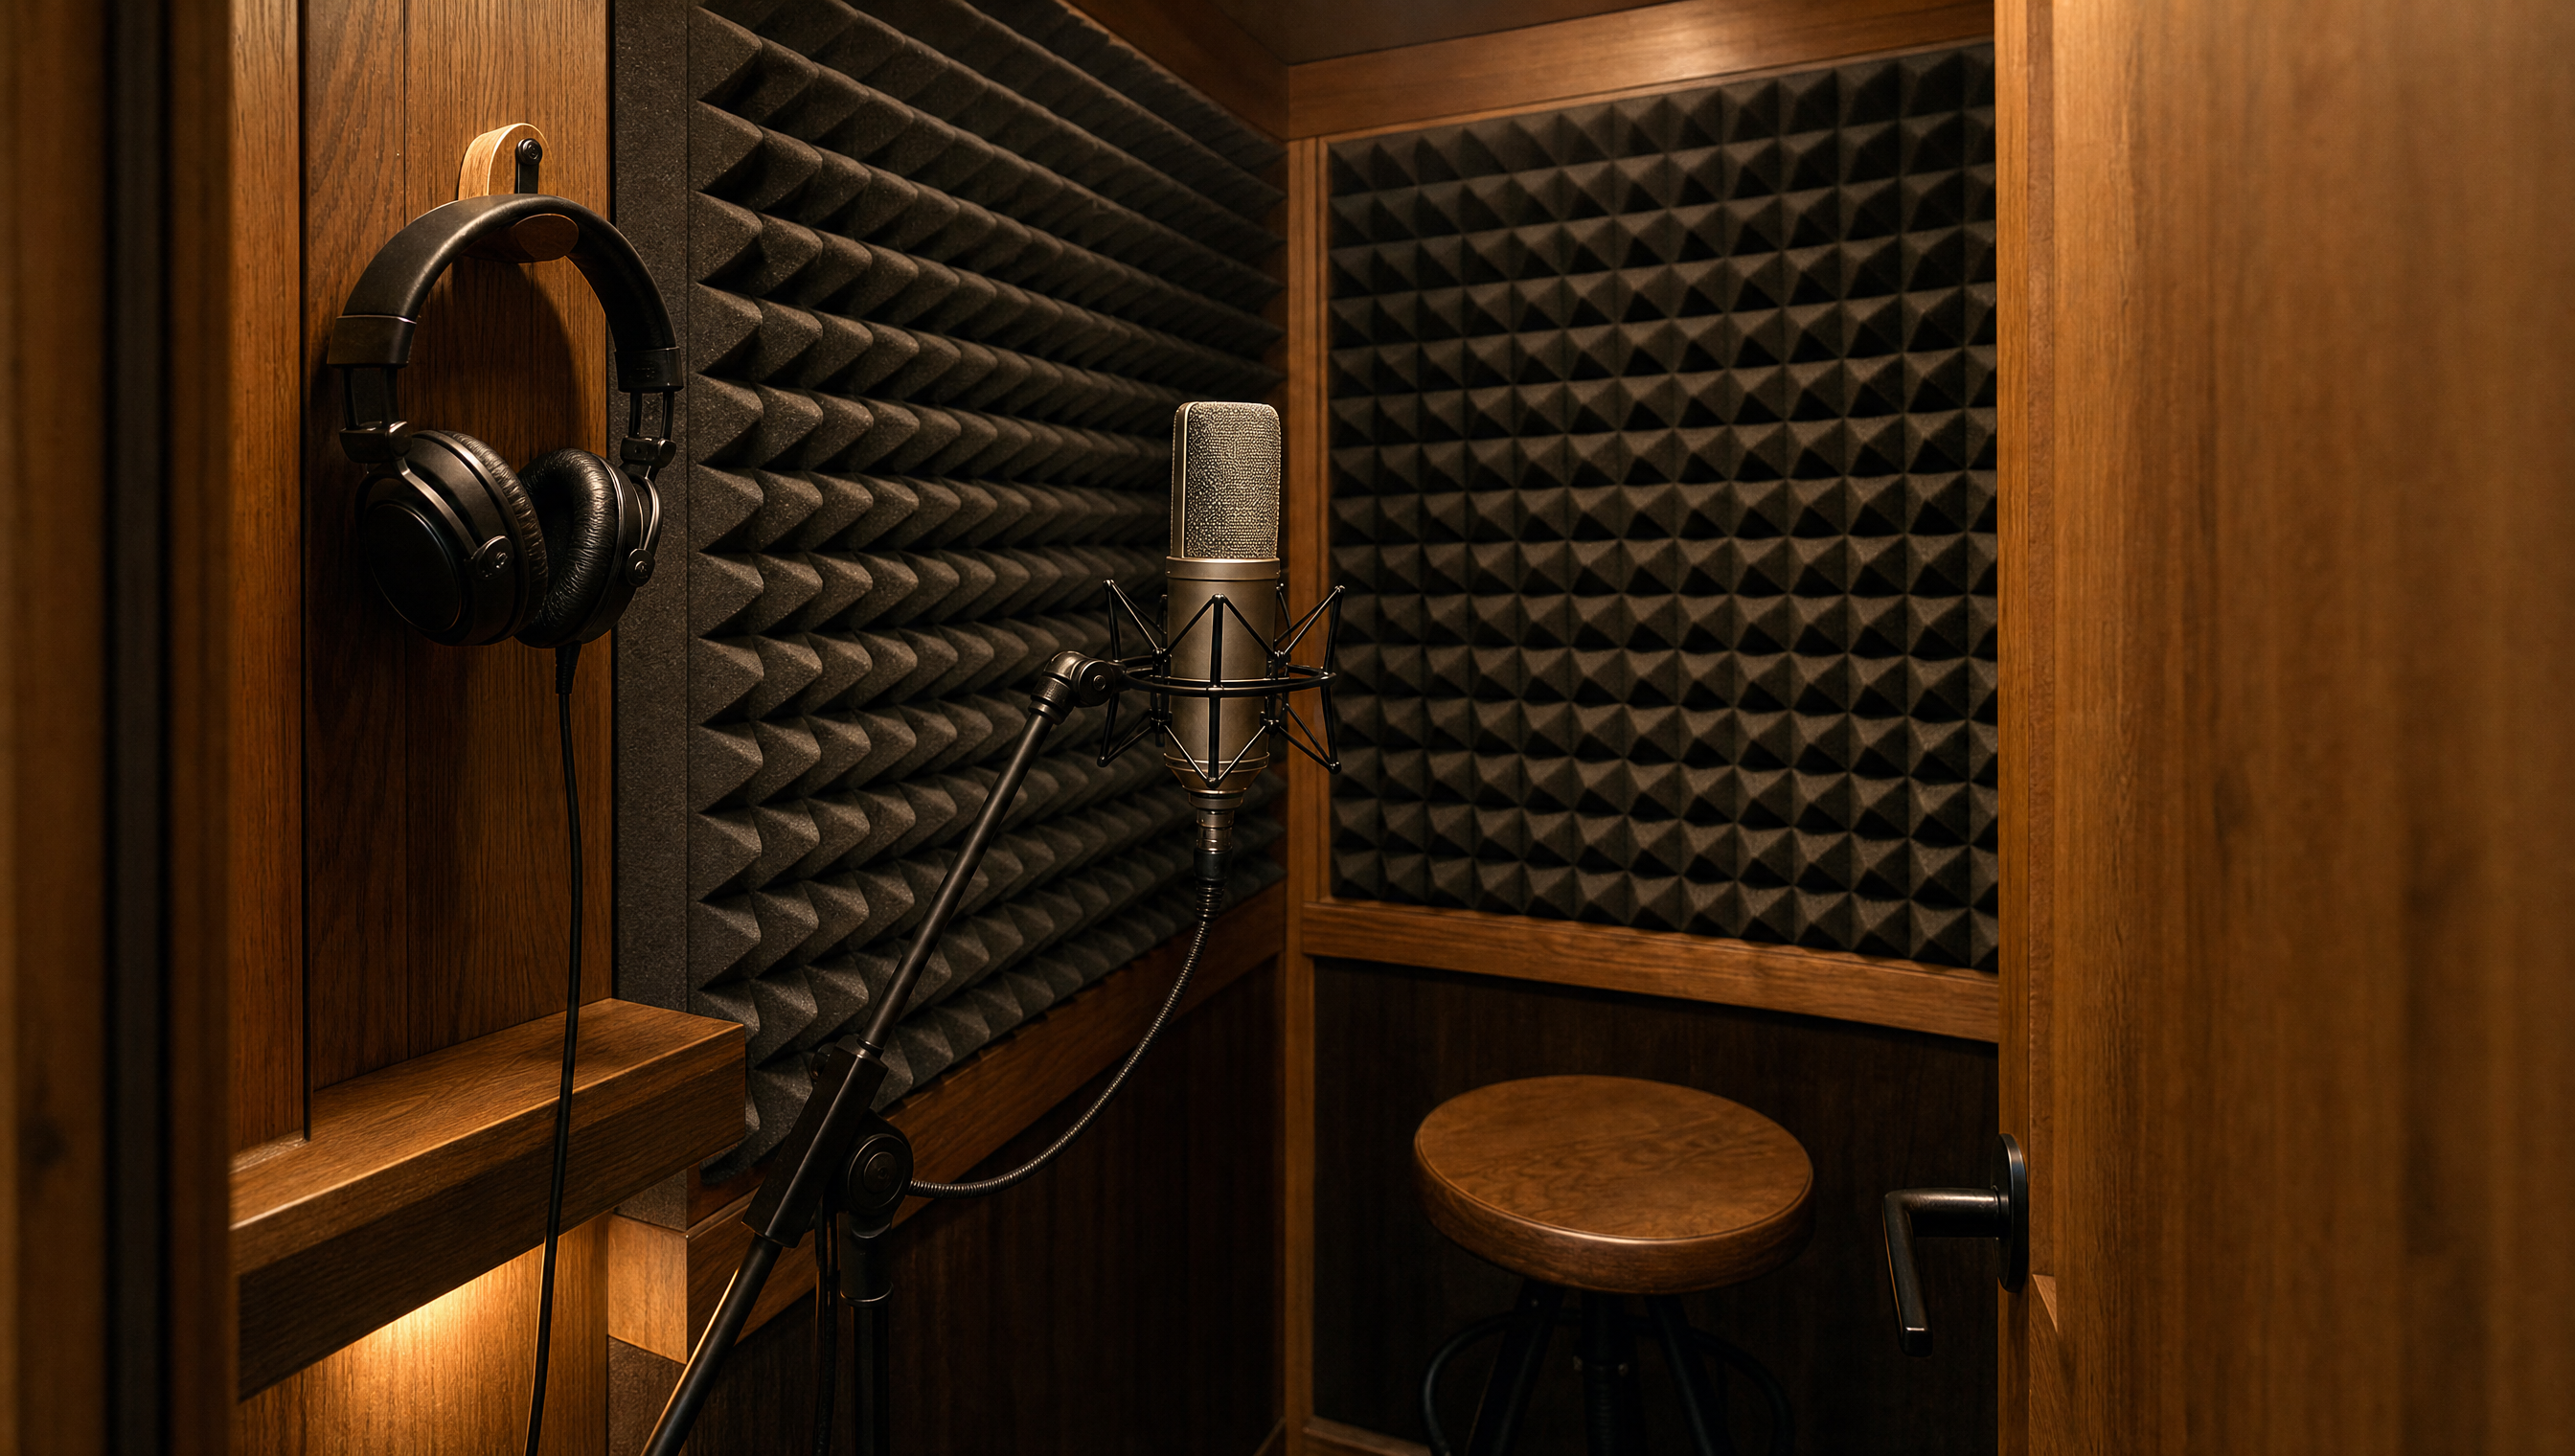
- Acoustic foam. As we discussed in our treatment article, foam is not an effective treatment solution. Spend the same money on mineral wool and build broadband panels.
- Expensive plugins. The stock plugins in modern DAWs are genuinely good. Learn to use them before buying third-party alternatives.
The Recording Process
Once your studio is set up, the recording process is straightforward but demands discipline:
Set the input gain so the loudest passage peaks at about -12 dBFS on your interface meter. This leaves headroom for unexpected volume spikes and prevents clipping. Record at 24-bit depth, which gives you enough dynamic range that you do not need to maximize input levels.
Record in a quiet room with the microphone positioned close to the source. For vocals, a distance of 15 to 20 centimeters with a pop filter is standard. The closer the microphone, the less room sound you capture, which gives you more flexibility when mixing. You can always add reverb later, but you cannot remove room sound from a recording.
Do not monitor with effects while recording. The performer may want reverb in their headphones, which is fine, but record the dry signal. Effects are non-destructive in the DAW, so you can always change them later. A recorded effect is permanent.
Patience and Practice
Building a home studio is a process, not a single purchase. Start with the essentials: one microphone, one interface, one pair of monitors, and basic acoustic treatment. Learn to use what you have before adding more gear. The best engineers are not the ones with the most equipment. They are the ones who know their equipment inside and out.