Recording an impulse response seems simple. Play a sound in a room, record the result, and you have an IR. In practice, the process is full of compromises and decisions that affect the final quality. The difference between a usable IR and an exceptional one is measured in the details: the choice of stimulus signal, the placement of the speaker and microphone, the management of background noise, and the post-processing chain.
This article covers the techniques we use at Acousticas, developed over fifteen years of capturing rooms and hardware. It is not a theoretical treatment. It is a practical guide to getting professional results.
Choosing a Stimulus Signal
The stimulus signal is the sound you play through the room to excite its acoustic response. The three options are transient methods (balloons, pistols), sine sweeps, and pseudo-random noise (MLS). For professional work, the sine sweep is the only serious choice.
A sine sweep is a pure tone that slides from a low frequency to a high frequency over a defined period. The sweep has two critical properties that make it ideal for IR capture. First, it spends equal time at each frequency, which means the room receives equal energy across the spectrum. This produces a flat frequency response in the deconvolved IR. Second, the sweep's long duration provides a high signal-to-noise ratio. The room's response to a 20-second sweep is 20 seconds of signal containing the full reverb decay, while the background noise is spread across the entire duration. When deconvolved, the signal-to-noise ratio improves by a factor related to the sweep length.
Sweep Parameters
We typically use sweeps from 20 Hz to 20 kHz (or the speaker's usable range) lasting 20 to 30 seconds. The sweep should be logarithmic, spending more time in low frequencies where rooms have more energy and the decay is longer. A linear sweep would under-represent the low end.
The sweep must be played at a volume loud enough to overcome background noise but not so loud that the speaker distorts or the room's nonlinearities become audible. We aim for a level that produces 80 to 90 dB SPL at the microphone position.
Speaker Selection and Placement
The speaker you use to play the sweep affects the IR. An omni-directional speaker excites the room uniformly in all directions, which is what you want for capturing the room's natural response. A directional speaker emphasizes certain surfaces, which can be useful if you want to capture the contribution of a specific wall or ceiling.
For general room capture, we use a dodecahedron speaker: a twelve-faced enclosure with a driver on each face, producing near-omni coverage. These are expensive and bulky, but they produce the most natural-sounding IRs. For budget-conscious work, a single full-range speaker on a stand can produce good results if you orient it carefully.
Speaker height matters. Sound sources in real rooms are typically at human head height, 1.5 to 1.7 meters. Placing the speaker at this height produces an IR that matches what a listener would actually hear. Placing it on the floor or at ceiling height changes the early reflection pattern and produces an unrealistic IR.
Microphone Techniques
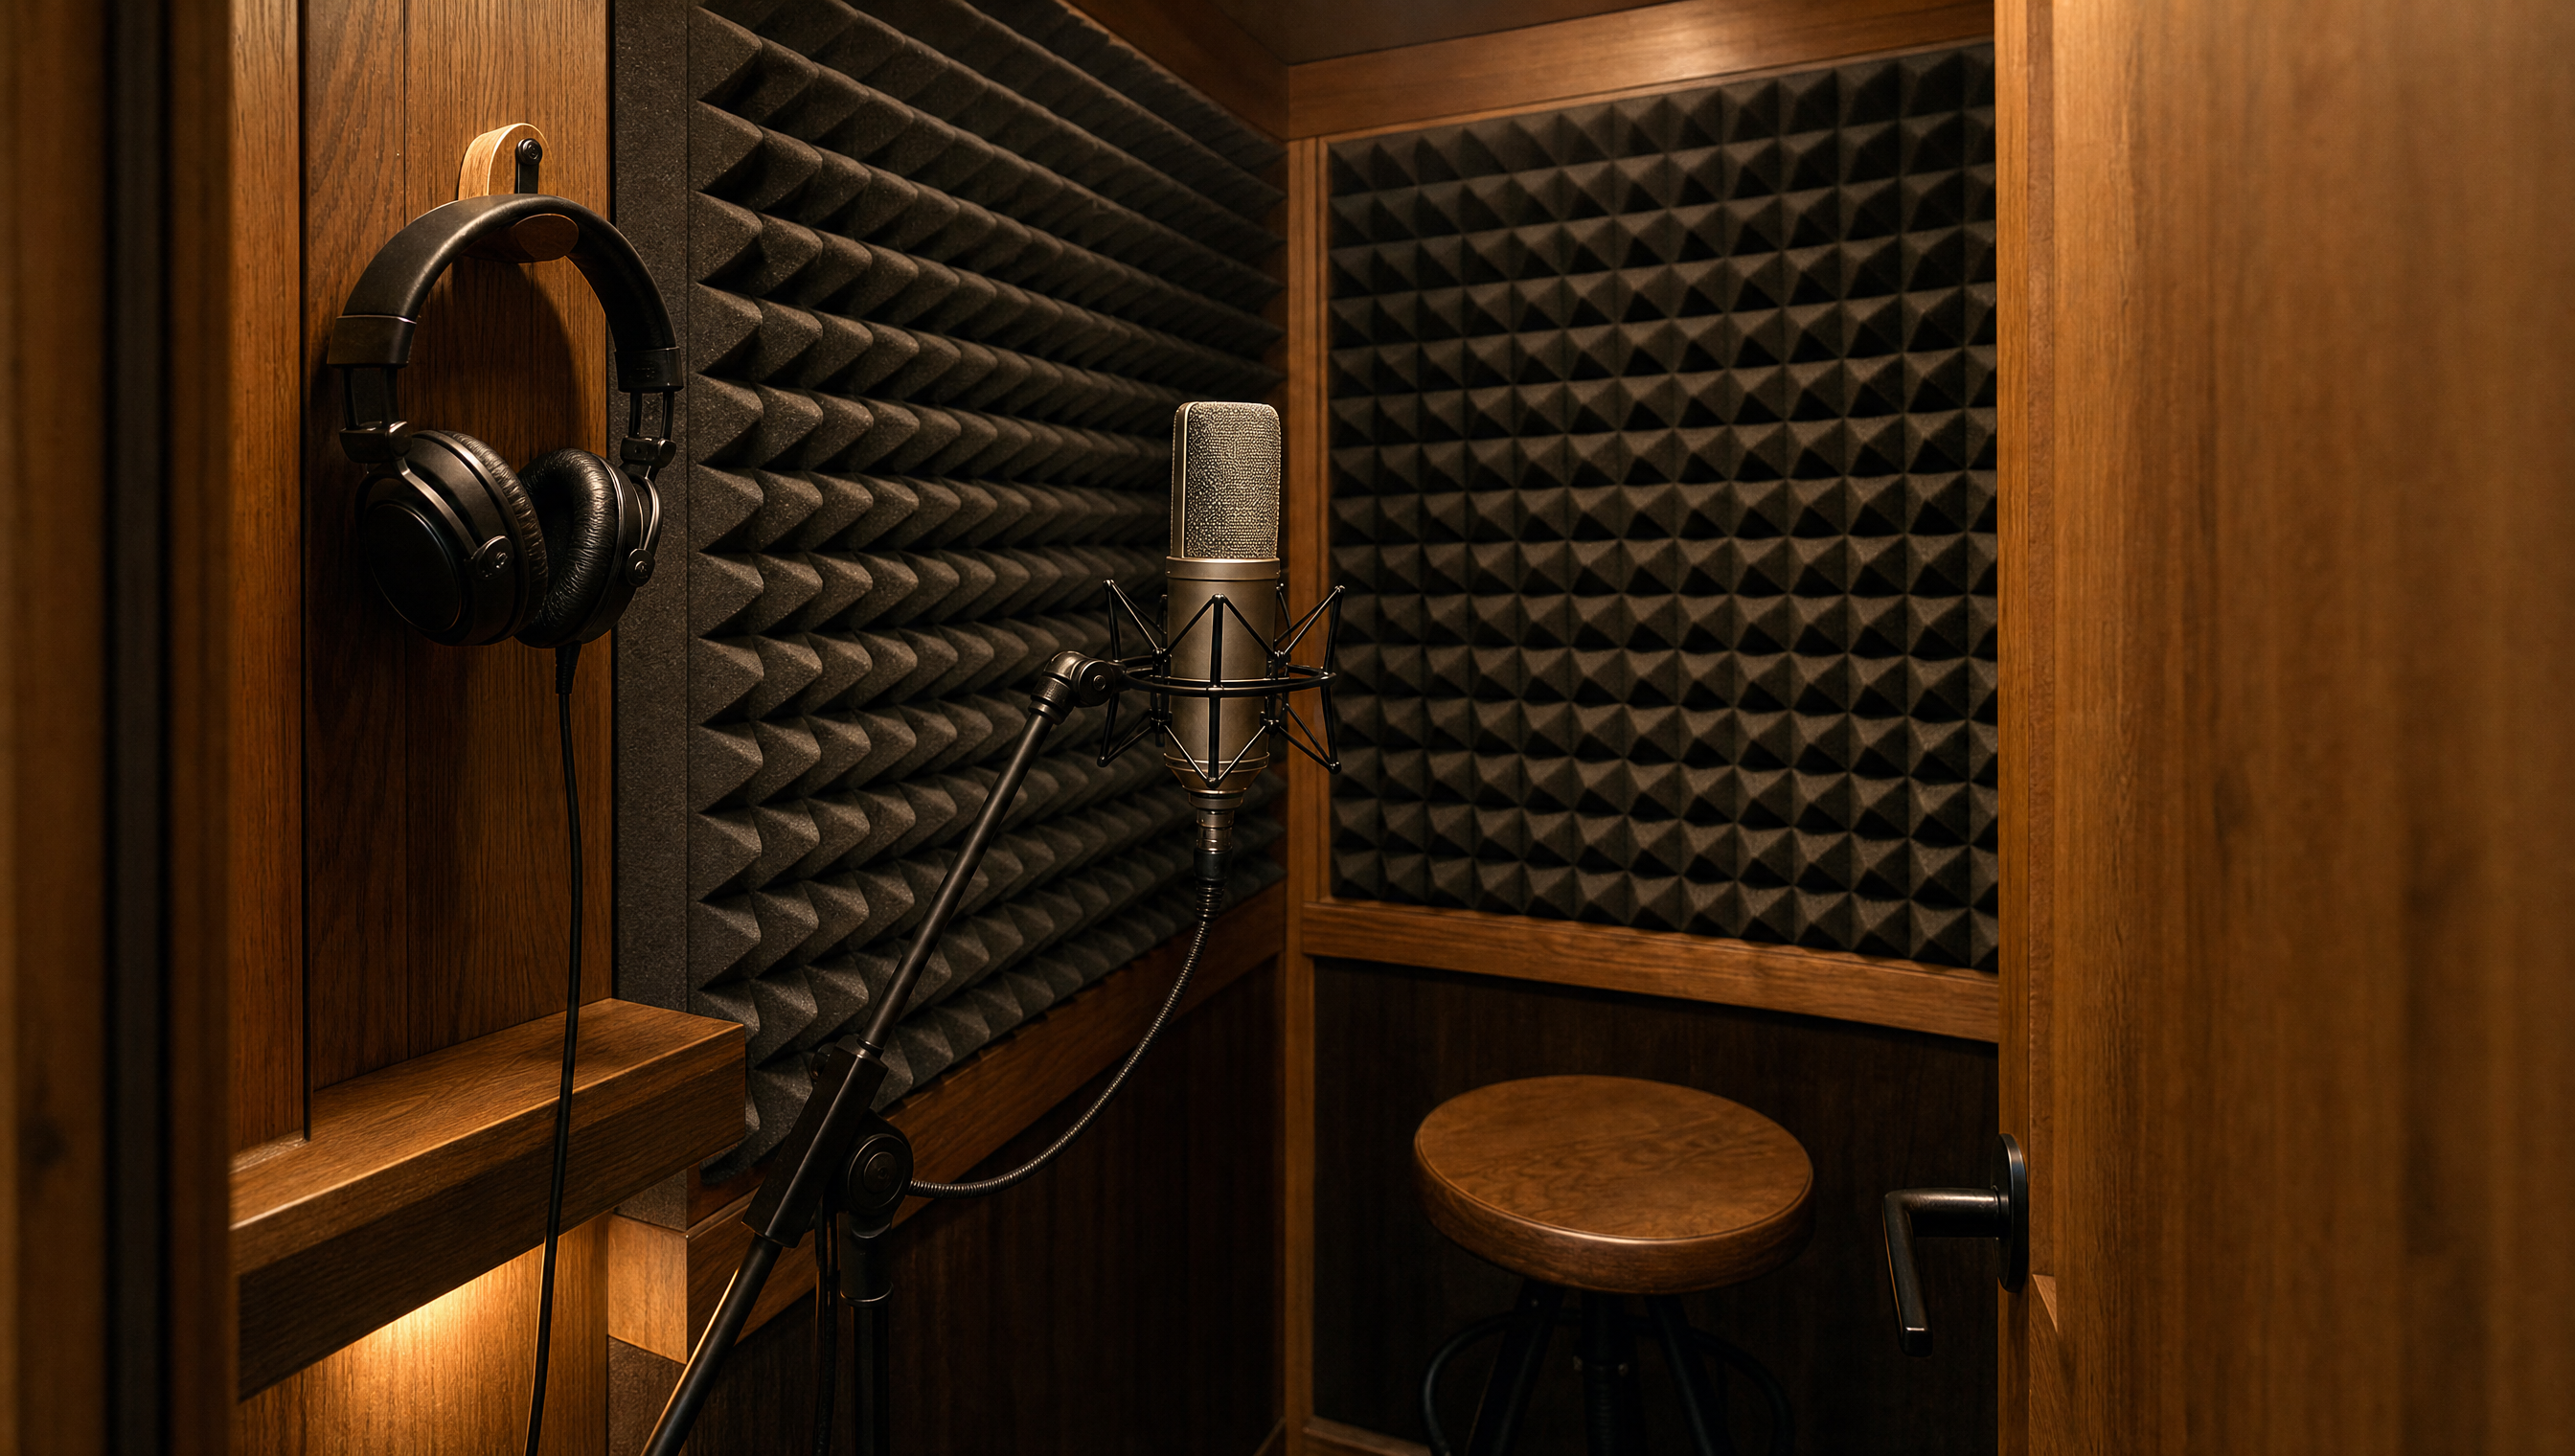
The microphone captures the room's response to the stimulus. Its type, pattern, and placement all affect the result.
Stereo Techniques
Most convolution reverbs use stereo IRs, so you need a stereo microphone setup. The three most common techniques are:
- Spaced omni (A/B): Two omni-directional microphones spaced 30 to 60 cm apart. Produces a wide, natural stereo image with good low-frequency response. The drawback is potential comb-filtering when the signal is summed to mono.
- ORTF: Two cardioid microphones angled 110 degrees apart with capsules 17 cm apart. Designed to approximate human head geometry. Produces a focused, accurate stereo image that collapses well to mono.
- AB + ORTF hybrid: We use a four-microphone setup that combines spaced omnis for width with a close ORTF pair for detail. This gives us the best of both worlds and allows us to choose the best stereo perspective during post-production.
Microphone placement should match the listening position you want to simulate. If you want the IR to sound like sitting in row five of a concert hall, place the microphones in row five. If you want it to sound like standing on stage, place them on stage.
Managing Background Noise
Background noise is the enemy of impulse response capture. HVAC systems, traffic, electrical hum, and even wind can contaminate the recording. The problem is that the noise is present throughout the sweep, and after deconvolution it appears as a noise floor in the IR that is audible during the reverb decay.
Our approach to noise management:
- Turn off everything. HVAC, lights with ballasts, computers, refrigerators. Anything that makes noise gets turned off. In large venues, this requires coordination with facility staff.
- Record at night. Traffic is lighter, and ambient noise is lower. We have recorded in cathedrals at 2 AM because that was the only time the environment was quiet enough.
- Use long sweeps. A 30-second sweep provides 15 dB more signal-to-noise ratio than a 1-second sweep, all else being equal.
- Take multiple passes and average. Recording the same sweep multiple times and averaging the results reduces uncorrelated noise by 3 dB per doubling. We typically take four to eight passes.
- Use a noise floor reference. Record a few seconds of silence before or after the sweep. This gives the deconvolution software a noise profile to work with.
Deconvolution
Deconvolution is the mathematical process that extracts the impulse response from the recorded sweep. The recorded signal is the convolution of the sweep with the room's impulse response. Deconvolution reverses this operation, producing the IR.
In practice, deconvolution is performed in software. We use a custom deconvolution tool that works in the frequency domain, dividing the Fourier transform of the recording by the Fourier transform of the original sweep. This is fast and accurate, but it requires care with the FFT window size and overlap to avoid artifacts.
The most common artifact in deconvolved IRs is a low-frequency rumble that appears at the start of the IR. This is caused by the sweep's beginning and end transitions, which produce spectral leakage. A good deconvolution tool applies fade in and fade out to the sweep to minimize this.
Post-Processing the IR
After deconvolution, the raw IR needs processing before it is ready for use:
- Trimming: Remove the silence before the direct sound (the impulse onset). The direct sound should be at or near the start of the IR.
- Normalization: Normalize the peak to 0 dBFS or a standard level. This ensures consistent volume across different IRs.
- Fade out: Apply a fade to the end of the decay tail to avoid a hard cutoff that would produce a click.
- EQ: Minimal EQ, if any. If the speaker or microphone has a known coloration, a corrective EQ can remove it. Otherwise, leave the IR uncolored.
- Format conversion: Convert to the required sample rate and bit depth. We provide IRs at 44.1 kHz, 48 kHz, 88.2 kHz, and 96 kHz, all at 24-bit.
The goal of post-processing is transparency. Every processing step should make the IR sound more like the room, not less.
Hardware IR Capture
Capturing the IR of a hardware reverb unit is conceptually similar but practically different. Instead of a speaker and microphone in a room, you connect the unit's inputs and outputs to an audio interface. The sweep is sent digitally to the interface, converted to analog, sent through the unit, and recorded back.
The key decision is analog versus digital capture. Digital capture sends the sweep directly to the unit's digital input and records from its digital output. This is clean and simple, but it bypasses the unit's converters. Analog capture routes the signal through the unit's D/A and A/D converters, preserving their character. We always use analog capture for vintage hardware because the converters are part of the sound.
For hardware with complex modulation (like the Lexicon 480L's chorusing), a single sweep captures a static snapshot. The modulation creates time-varying changes that a single IR cannot represent. To address this, we capture multiple IRs at different modulation phases and provide modulation delay presets that recreate the movement.
Common Mistakes
- Using a balloon or starter pistol for professional work. These methods produce IRs with significant frequency coloration. Use a sine sweep.
- Placing the speaker too close to a wall. The wall reflections contaminate the IR. Keep the speaker at least 1 meter from any surface.
- Not checking for mono compatibility. An IR that sounds great in stereo might produce phase cancellation when summed to mono. Always check.
- Recording in a room with active HVAC. The noise floor will be audible in the reverb decay. Turn it off or come back at night.
- Not taking multiple passes. A single sweep recording has whatever noise was present at that moment. Averaging multiple passes dramatically improves quality.
Impulse response capture is a craft. Like any craft, it rewards patience and attention to detail. The difference between a good IR and a great one is not expensive equipment. It is taking the time to do each step correctly.