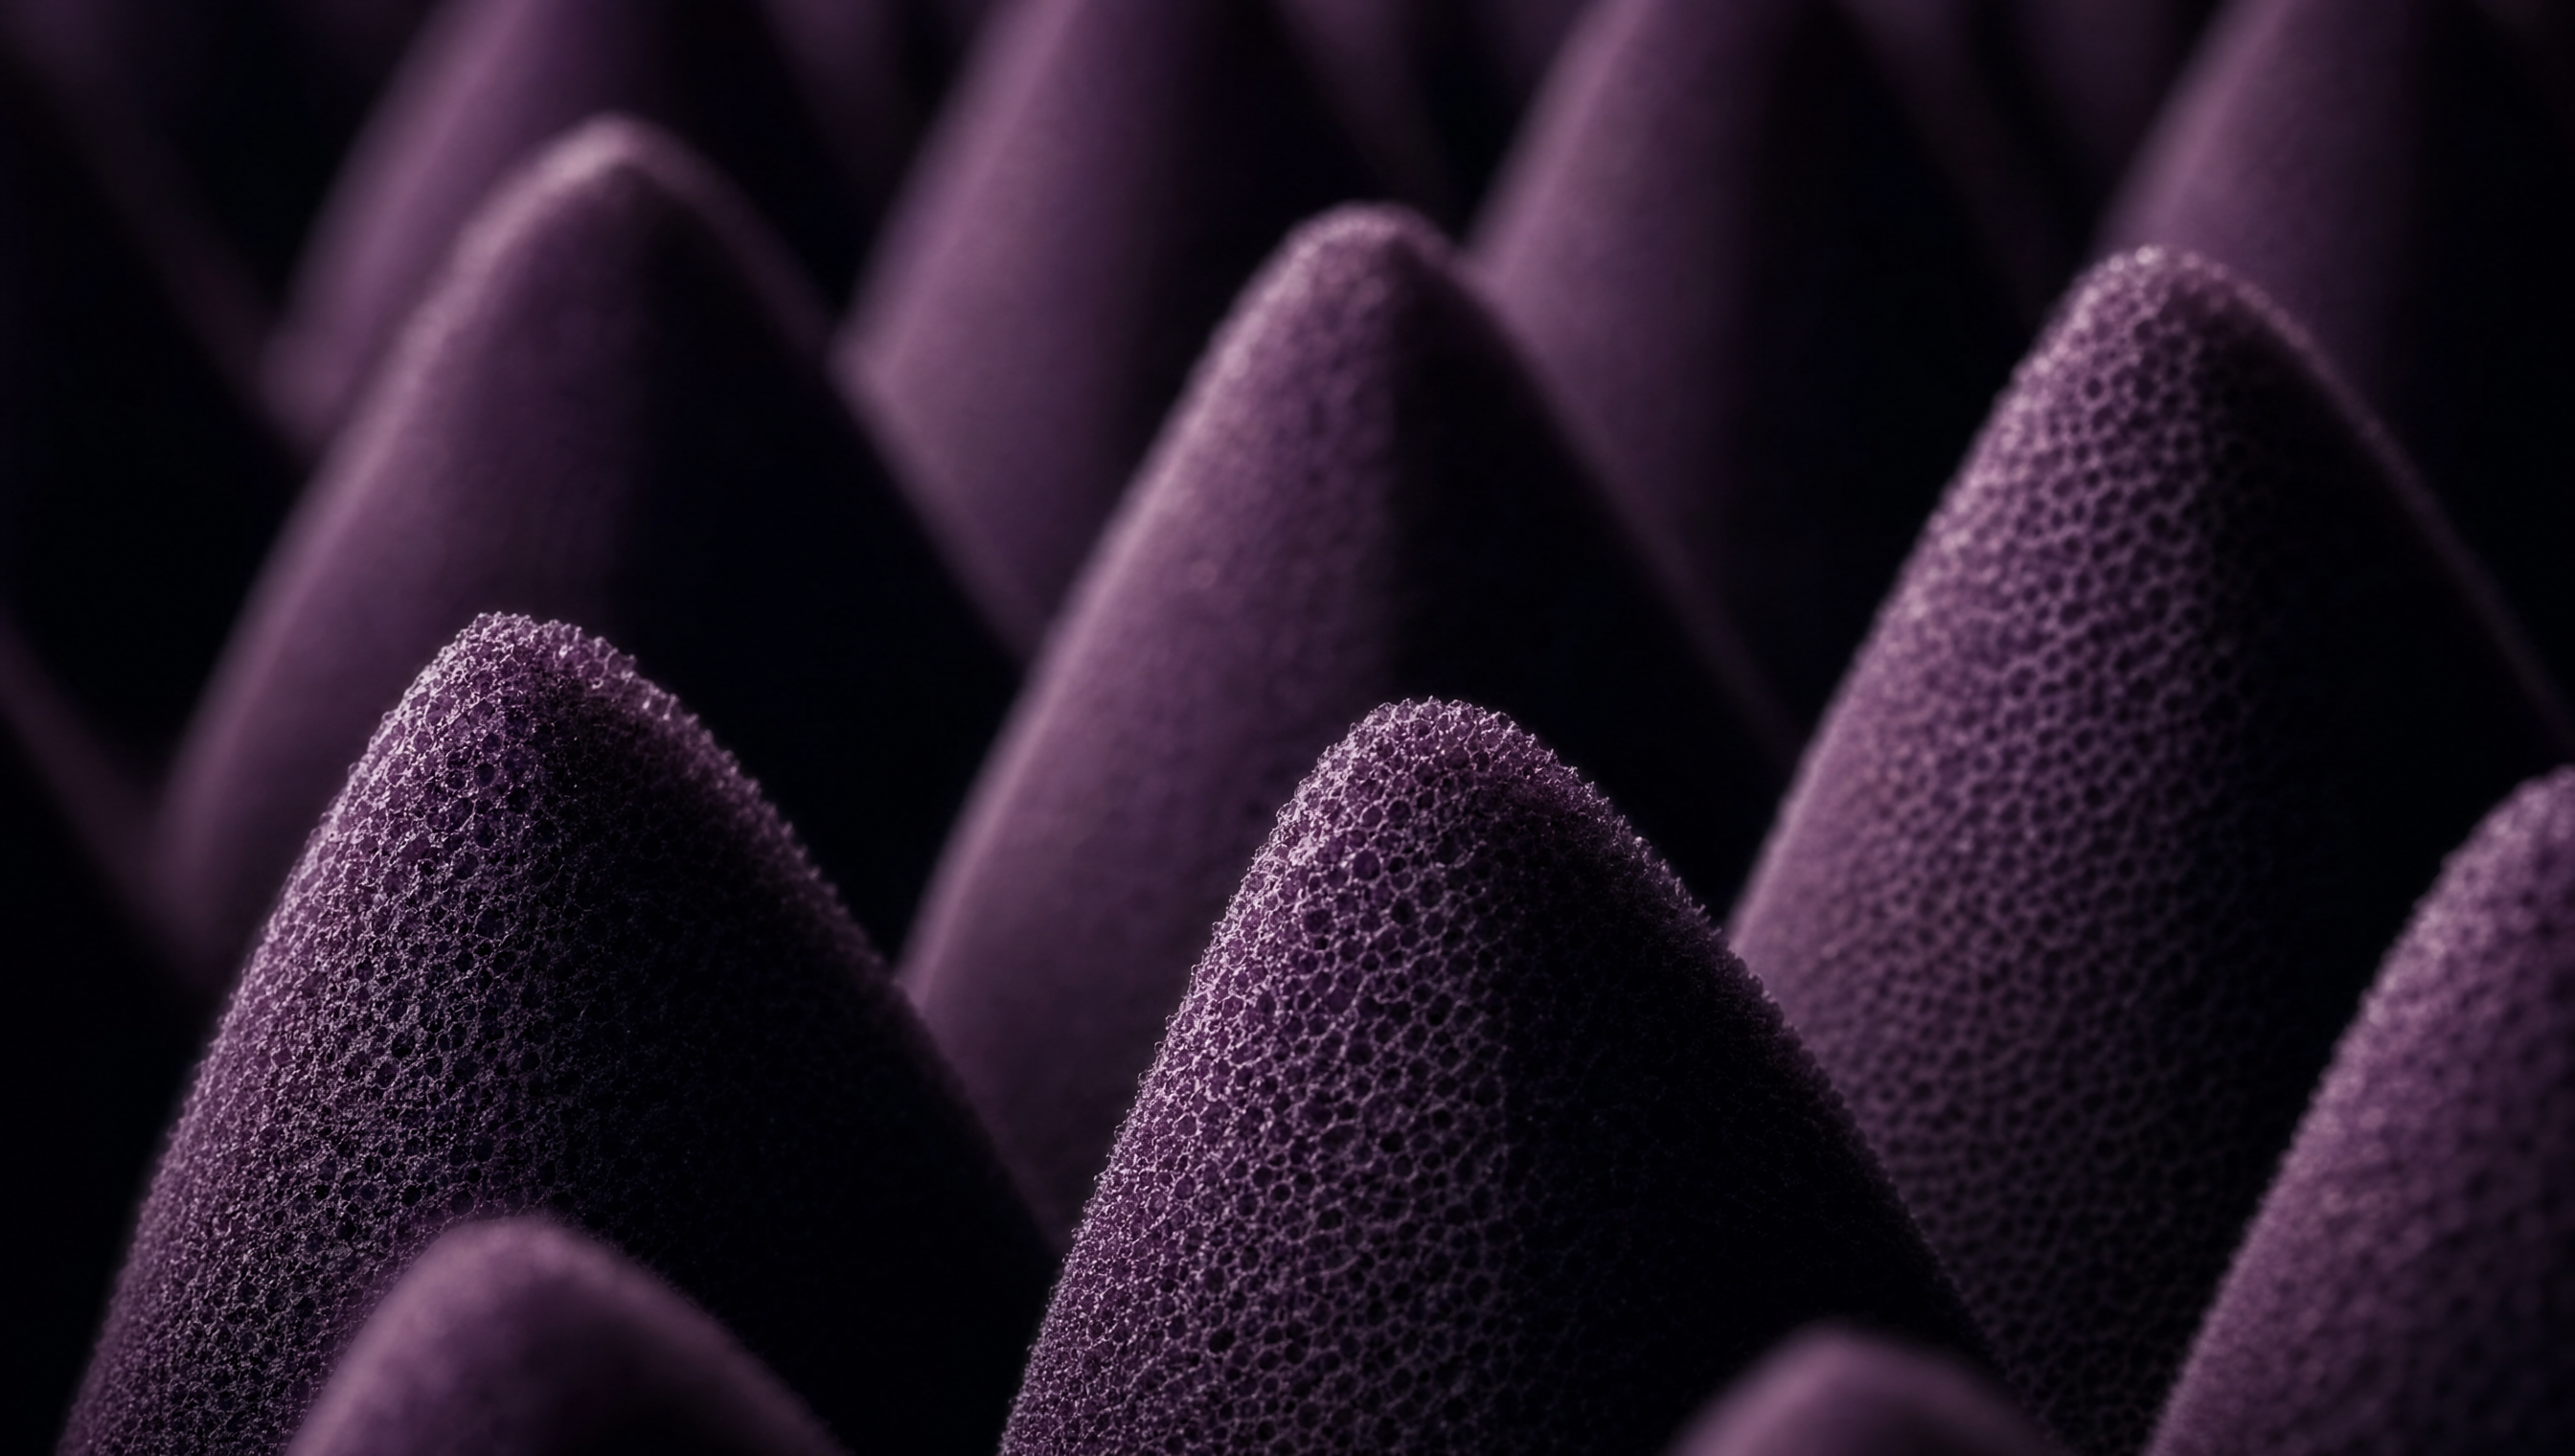
Walk into any music store and you will find acoustic foam: egg-crate panels in various colors, marketed as studio treatment. They are cheap, they are easy to install, and they look like what a studio is supposed to look like. The problem is that they do almost nothing useful.
Acoustic foam is typically one to two inches thick. At that thickness, it absorbs mid and high frequencies but has essentially no effect on low frequencies. The result is a room that sounds boomy and lifeless: the bass builds up unchecked while the highs are absorbed. This is the opposite of what you want.
The Three Problems in a Room
Before treating a room, you need to understand what problems exist. There are three acoustic issues that treatment addresses:
1. Early Reflections
Sound from your speakers reaches your ears directly, but it also bounces off the side walls, ceiling, and desk surface before reaching your ears a few milliseconds later. These early reflections combine with the direct sound and create comb filtering, a series of peaks and dips in the frequency response that changes what you hear. The result is a smeared stereo image and inaccurate frequency balance.
2. Reverberation
In an untreated room, sound reflects off multiple surfaces and creates a reverberant field. Unlike a nice concert hall reverb, room reverb in a small space is dense and colored. It adds a boxy character to everything you hear and makes it harder to judge reverb and delay settings in your mix.
3. Low-Frequency Modes
Low frequencies behave differently from highs. In a small room, bass wavelengths are comparable to the room dimensions, which means they create standing waves: locations where certain frequencies are boosted and others are cancelled. Move your head a foot and the bass response changes dramatically. This is the hardest problem to solve and the one foam panels do nothing about.
What Actually Works: Bass Traps
Bass traps are the single most important treatment element in a small room. They address low-frequency modes, which are the most damaging acoustic problem. A bass trap is a thick, dense absorber placed in the corners of the room, where low-frequency energy is highest.
The most effective bass traps are made of rigid fiberglass or mineral wool, at least four inches thick, spanning floor to ceiling in the room corners. The material density matters: too dense and it reflects high frequencies, too loose and it does not absorb bass. Owens Corning 703 or Rockwool RXL are the standard materials.
For home studios on a budget, superchunk bass traps (triangular wedges of mineral wool stacked in corners) are a cost-effective alternative to floor-to-ceiling panels. They are less efficient per unit of material but easier to build and install.
First Reflection Points
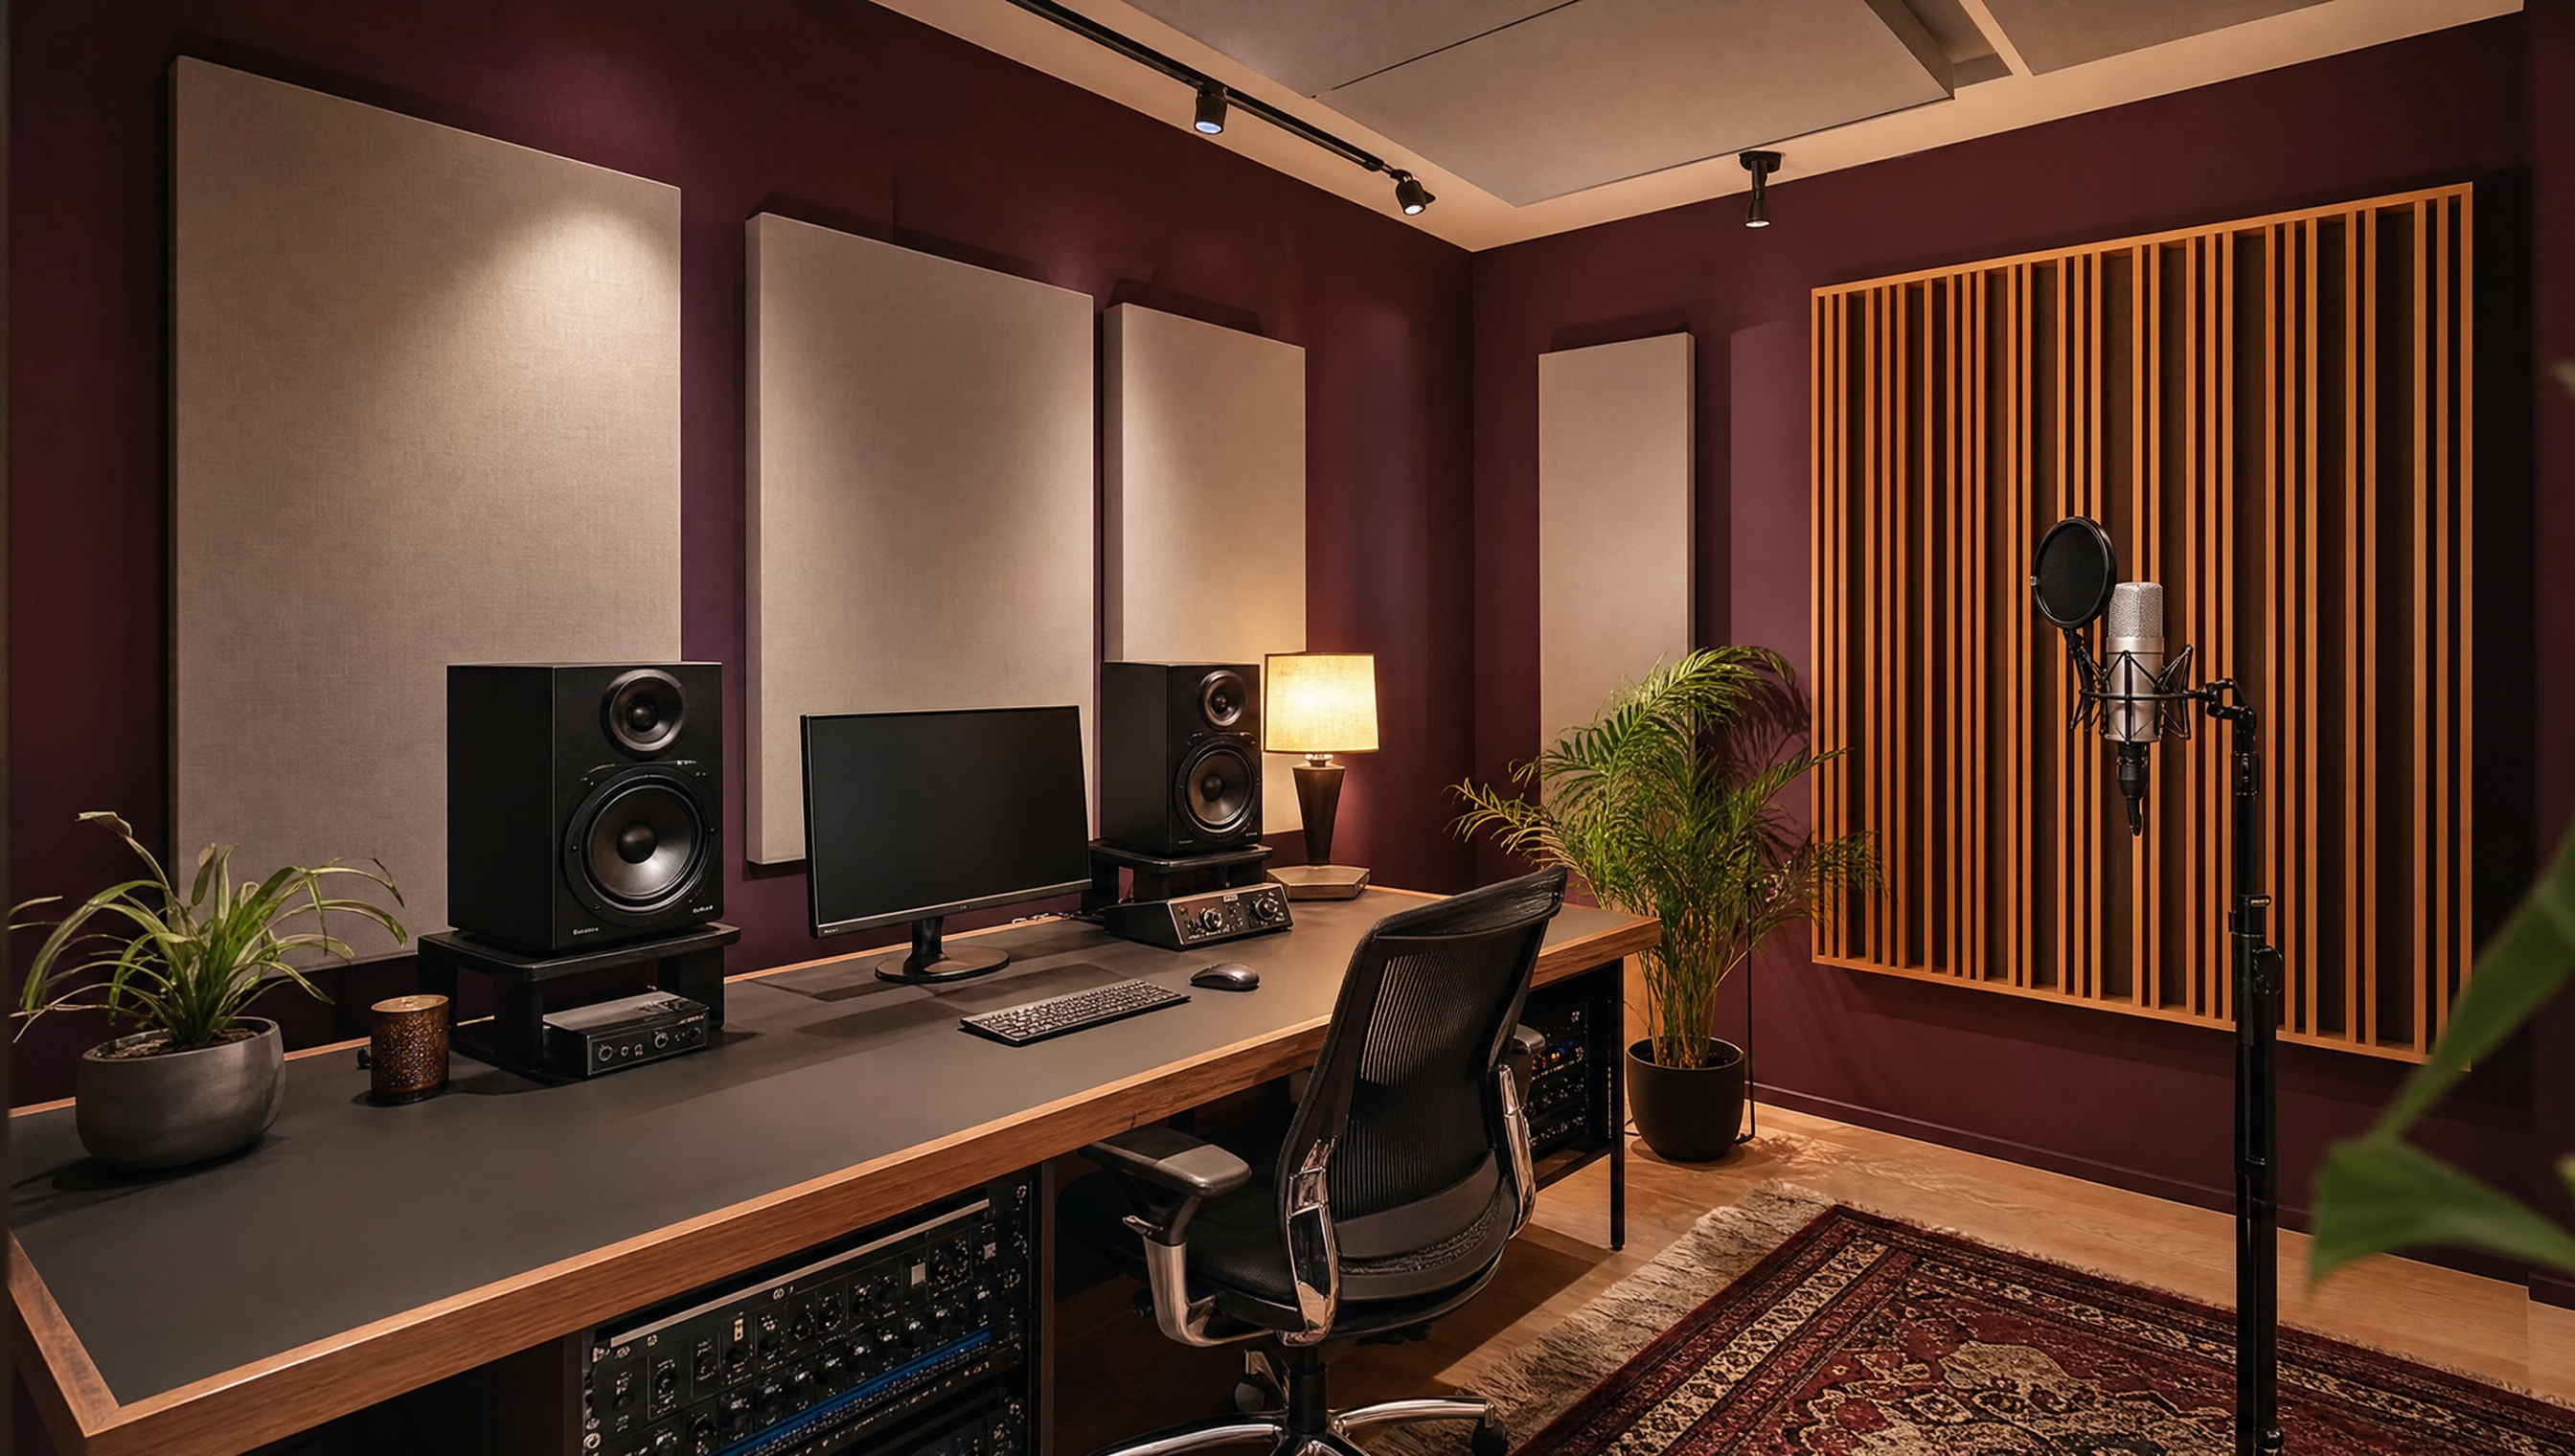
After bass traps, the next priority is treating the first reflection points. These are the locations on the side walls, ceiling, and front wall where sound from the speakers first bounces before reaching the listening position.
Find them with the mirror trick: have a friend slide a mirror along the wall while you sit at the listening position. When you can see each speaker reflection in the mirror, that is the first reflection point for that speaker. Treat those points with broadband absorption.
Broadband absorbers are panels of rigid fiberglass or mineral wool, two to four inches thick, mounted on the wall with an air gap behind them. The air gap improves low-frequency absorption. These panels absorb frequencies from about 200 Hz up, which covers the early reflection problem without over-deadening the room.
Diffusion vs Absorption
Absorption removes acoustic energy. Diffusion scatters it. A room with only absorption sounds dead and lifeless. A room with a mix of absorption and diffusion sounds natural and controlled.
Diffusion is provided by irregularly shaped surfaces that scatter sound in multiple directions. Quadratic residue diffusers (QRDs) are a common type, using a series of wells of varying depths based on a mathematical sequence. They are effective but require precise construction.
For home studios, bookshelves filled with books of varying sizes provide surprisingly good diffusion. They are not as predictable as a proper QRD diffuser, but they scatter sound effectively and add visual character to the room.
The general rule: absorb at first reflection points, diffuse the rear wall. This controls the immediate reflections from the speakers while maintaining a natural sense of space behind the listener.
The Ceiling
The ceiling is often overlooked in home studio treatment, but it is a significant reflection surface. Sound from the speakers bounces off the ceiling and arrives at the listening position just a few milliseconds after the direct sound, creating the same comb filtering as side wall reflections.
A cloud absorber (a broadband panel suspended horizontally from the ceiling above the listening position) solves this. It does not need to cover the entire ceiling, just the area between the speakers and the listener.
The ceiling is the most neglected surface in home studio acoustics. Treating it often produces a bigger improvement than treating the walls.
What About Foam?
Acoustic foam is not useless. It has legitimate applications: covering hard reflective surfaces in a voiceover booth, reducing flutter echo in a podcast room, or treating a live room in a recording studio where you want some absorption but not full deadening. The problem is that it is marketed as a complete solution when it is, at best, a partial one.
If you already have foam panels, do not throw them away. Use them on the rear wall for mild absorption, or on surfaces that are not first reflection points. But do not expect them to fix bass problems or improve your mix decisions. For that, you need bass traps and broadband absorbers.
Practical Treatment Plan for a Home Studio
Here is a prioritized treatment plan for a typical 3x4 meter home studio, from most to least important:
- Corner bass traps: Four floor-to-ceiling bass traps, one in each corner. If budget allows only two, put them in the front corners behind the speakers.
- First reflection panels: Two broadband panels on the side walls at the first reflection points, one panel on the ceiling as a cloud.
- Rear wall treatment: Either absorption if the room is very live, or diffusion if the room is already fairly dead.
- Front wall: Optional, but a broadband panel behind the speakers can reduce front-wall reflections.
- Floor: A rug between the speakers and the listening position absorbs floor reflections.
This plan addresses all three acoustic problems: bass traps handle low-frequency modes, first reflection panels handle early reflections, and the rear wall treatment controls reverberation. The total cost for DIY panels (buying rigid fiberglass and building wooden frames) is typically $300 to $600, which is less than the cost of a single mid-range studio monitor.
Measurement and Verification
After treating your room, measure it. Room EQ Wizard (REW) is a free measurement tool that uses a measurement microphone and a sweep signal to generate a frequency response plot of your room at the listening position. Look for the waterfall plot, which shows how different frequencies decay over time. A well-treated room will show a smooth, even decay across all frequencies, with no persistent resonances at specific frequencies.
If you see a sharp ridge at a particular frequency that takes much longer to decay than the surrounding frequencies, you have a room mode that your bass traps are not fully addressing. You can add a tuned absorber (a bass trap designed to target that specific frequency) or reposition your listening position to avoid the node.
Treatment is not a one-time event. As you add or change equipment, move furniture, or change speaker positions, the room acoustics change. Re-measure periodically and adjust your treatment as needed.